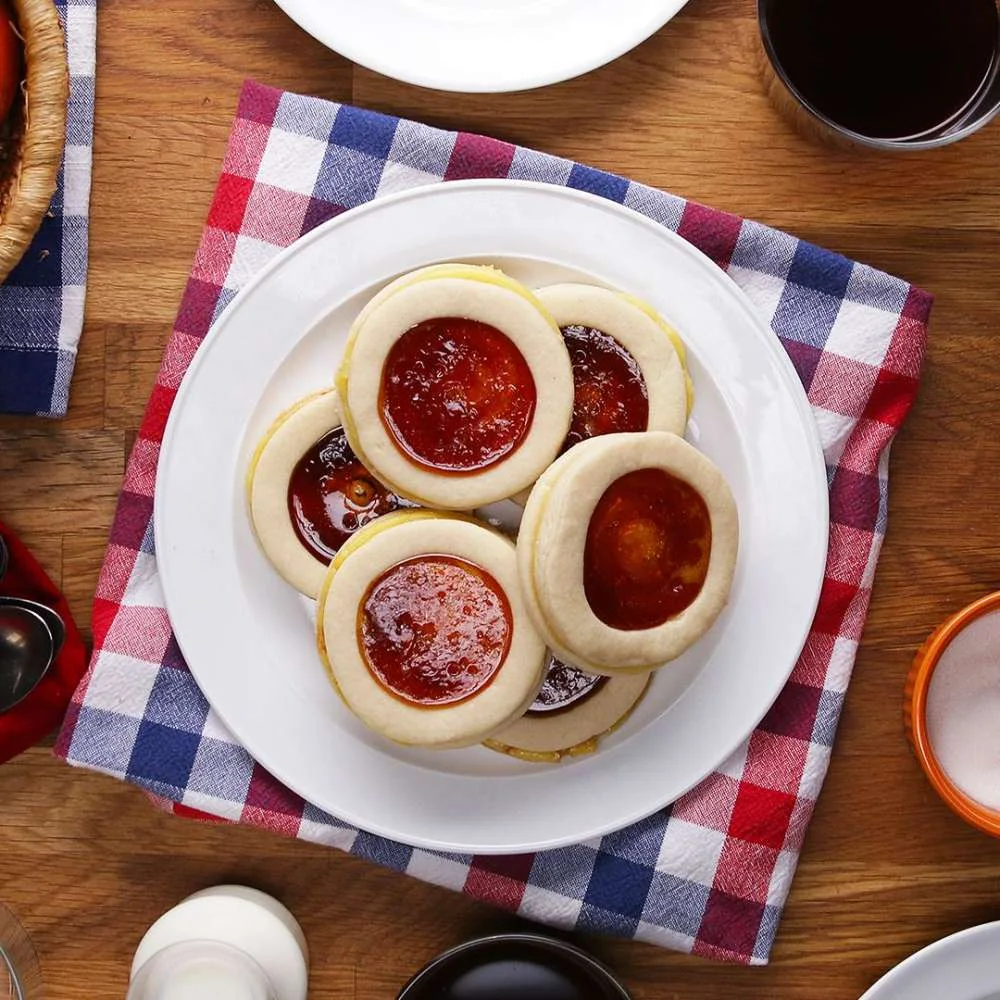
Crème Brûlée Cookies
Crème brûlée cookies with vanilla custard and caramelized sugar. Get the ingredient amounts and follow the complete cookie and custard method.

Desserts · Dessert
No-Bake Strawberry Cheesecake Dome. Made with cream cheese, strawberries and graham crackers. Get ingredient amounts and step-by-step instructions.
Cook without an account. Sign in only to save recipes to your kitchen.

Set your food preferences to see ingredient flags for this recipe.
Cooking with an intolerance? Choose ingredients to avoid before you explore.
No verified total time is available. Review the method for preparation, cooking and waiting times.
In a small bowl, combine graham cracker crumbs and brown sugar.
Add the melted butter and whisk to combine.
Press the graham cracker crumb mixture into the bottom of an 8-inch (20-cm) springform pan, using a measuring cup to pat the surface smooth. Chill in refrigerator for at least 2 hours or until firm.
In a large bowl, combine cream cheese, brown sugar, sugar, milk, and vanilla using a whisk or hand mixer.
Line a 8-inch (20-cm) glass mixing bowl with plastic wrap.
Starting from the center, lay strawberries in an overlapping, circular fashion, making sure they make good contact and are sticking to the plastic wrap. Repeat the circular pattern up until roughly ½ inch (1-cm) from the top of the bowl.
Pour two thirds of cheesecake mixture into strawberry-lined bowl.
Press the whole strawberries into cheesecake mixture to form a layer.
Cover the whole strawberries with the remaining cheesecake mixture.
Carefully lift set graham cracker crust onto cheesecake mixture.
Cover and refrigerate for at least 4 hours .
Carefully invert bowl onto cutting board.
Lift bowl and remove plastic wrap.
Transfer to cutting board and slice into wedges.
Serve immediately.
Use the recipe’s specific storage directions when provided. Read the food storage guide for chilling and reheating food, and the measures guide before changing portions or ingredients.
☆☆☆☆☆
Be the first to review this recipe.
YOUR KITCHEN JOURNAL
Notes and cooking history sync with your household.
These are household reports and estimates, not verified public reviews or current store prices.
Yield was not supplied; quantities describe the original batch.
Crème brûlée cookies with vanilla custard and caramelized sugar. Get the ingredient amounts and follow the complete cookie and custard method.